
Flex Plate Clamp

Ritech Flex Plate Clamp *New Product*
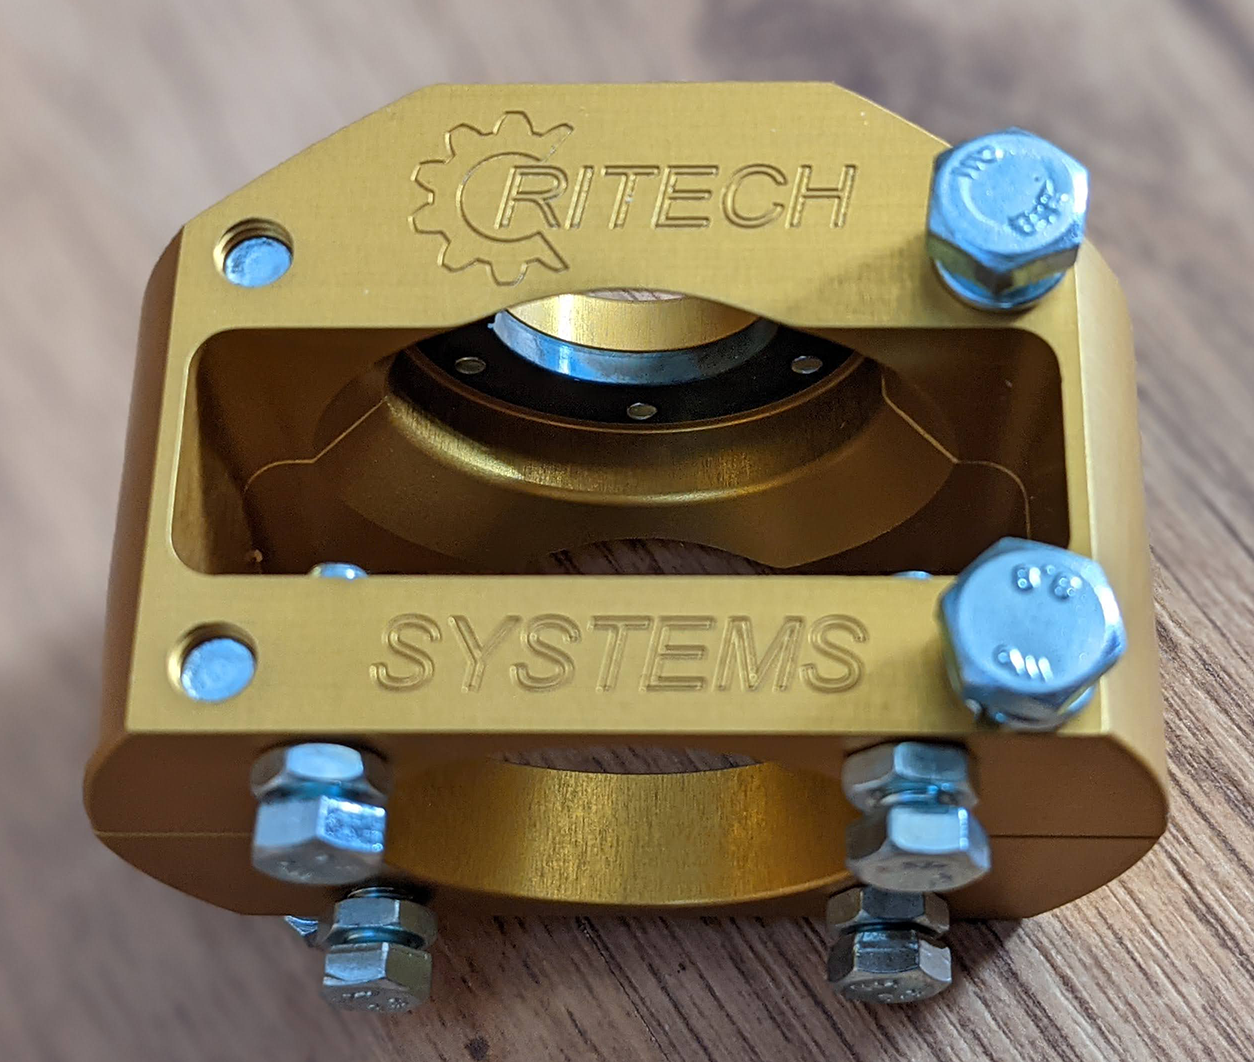
The clamp you didn't know you needed for your automatic 928
The problem and solution
The Porsche 928 automatic has a flexplate bolted to the flywheel designed to absorb the differences between the cold and hot running gear. The long drive shaft is connected between the engine and the rear mounted gear box. The OEM design can allow the drive shaft to move within the clamp exerting constant positive pressure on the flexplate and in turn the crankshaft. The thrust bearing will become worn by the crankshaft If the clamp is not checked, pressure released and bolt replaced on a regular (yearly) basis. When the thrust face is worn down by constant pressure from the crankshaft it will start to wear the engine web itself. Over time heat from friction will seize the engine and destroy the block. We have seen this in person and it isn't pretty.
The Ritech clamp can be fitted quite easily and without removing the original OEM clamp. it is fitted to the outside of the original clamp and mechanically holds it in place. It will prevent the drive shaft moving within the clamp. Once fitted you have peace of mind. It no longer needs to be checked and released each year
Disclaimer
This product is intended to positively clamp the driveshaft to the existing clamp and should aid the prevention of the condition in which the shaft migrates back in the standard clamp and places constant forces on the flexplate and crankshaft thrust bearing. Such forces may have already damaged the engine in a way which would not be apparent unless the engine were to be stripped. It is advised that the flexplate tension be checked every year in any case.
Ritech Systems Ltd, JDSPorsche any of our personnel shall not in any circumstances whatsoever be liable for any engine damage, personal injury or death caused by or arising out of the use of this flexplate clamp.
Price 230 GBP + shipping.
Fitting instructions

- Remove the cover under the flywheel, depending on your exhaust this may have to be lowered first to access the rear most bolts.
- Undo the cap head bolt on the clamp to release any tension. You may have to turn the engine in order to access the bolt in which case make sure it is only rotated clockwise (when standing in front of the car).
- The clamp in the image shows some migration as there should not be as much spline section visible.

- Ensure all tension is released then re-torque the bolt.
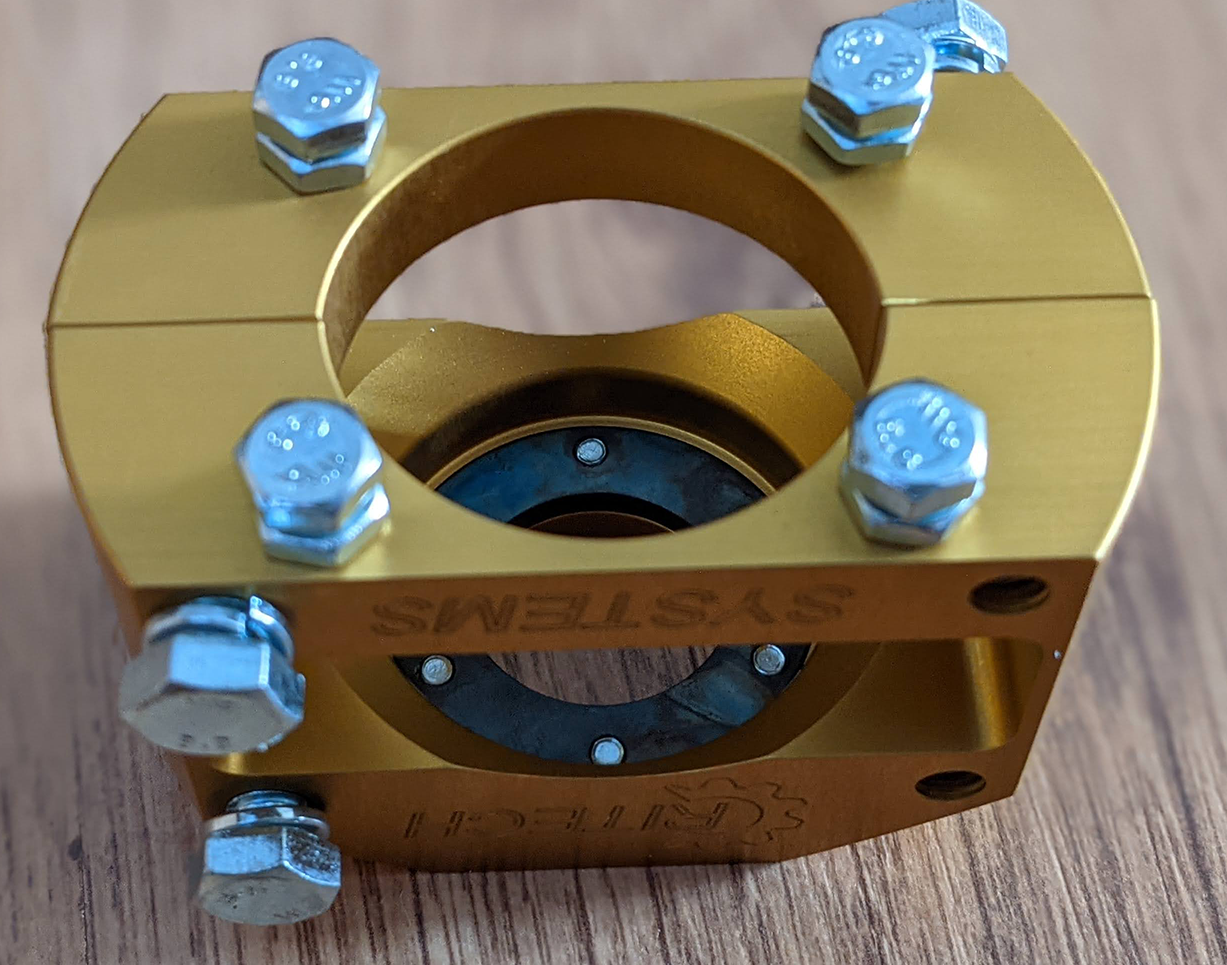
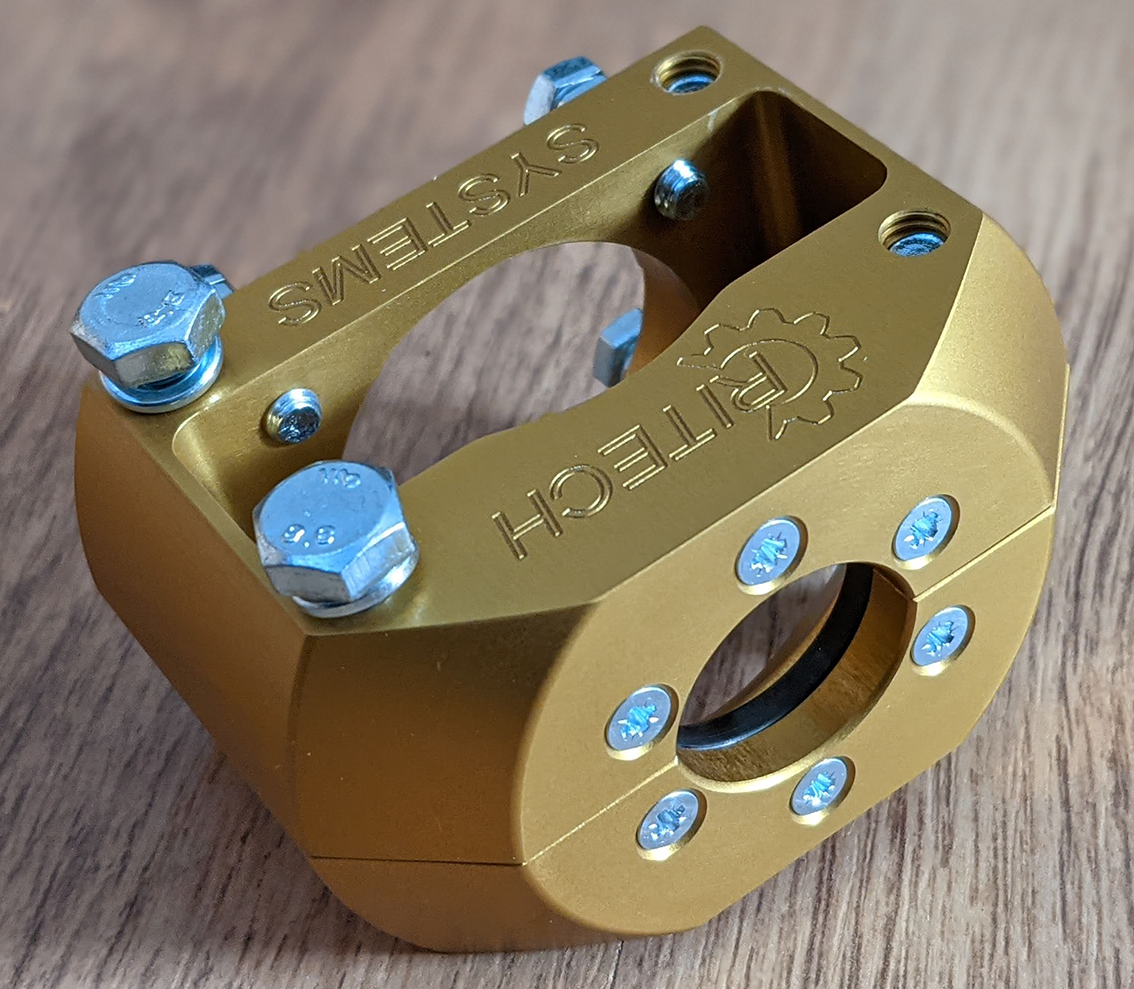
- Fit half of the clamp around the existing clamp ensuring the hardened ring fits around the end of the splined shoulder.
- The end bolts and locking nuts should be released at this time.
- Fit the other half of the clamp ensuring all bolt holes line up without forcing and fit the hex bolts and washers.
- You may note they are fitted on opposite sides for balance

- IMPORTANT. The gap between the two halves should be even. If not it's likely the clamp has not been fitted at the end of the spline. It may be necessary to gain access to the rear clamp bolt, release it so the drive shaft can be moved toward the engine (1-2mm only) and re-torque the rear bolt.
- Excessive force is NOT required to bolt the halves together, just correct location.
- You will have to rotate the engine to gain access to all the bolts (use the teeth on the flywheel and ensure a clockwise direction as if standing in front of the engine).

- Once the two halves are bolted together the end bolts can by hand until they make contact with the back of the clamp body.
- The lock nuts can then be tightened
- The clamp will stay in position and hold the shaft and existing clamp solidly.